

Table of Contents
- Understanding The Technique
- How to Do Braids With Extensions in 10 Easy Steps
- Step 1 - Section your hair
- Step 2 - Using a good quality hair wax
- Step 3 - Tie your hair and secure them
- Step 4 - Styling your extensions
- Step 5 - Start braiding
- Step 6 - Plaiting from root to the tip
- Step 7 - Repeat the entire process
- Step 8 - Dipping the ends in hot water
- Step 9 - Styling your edges
- Step 10 - Set them and you are all done
- Get Ready To Braid!
Braided extensions have garnered huge popularity in recent times. They are safe, comfortable, and long-lasting, but the real reason for their popularity is quite different. Women had to spend a huge chunk of their savings on salon appointments. They were told that they could only achieve this style if they booked an appointment with a hairstylist. But luckily for you, we are here to debunk this myth.
In this article, you can learn the step-by-step process of braiding in hair extensions all by yourself! While it may seem tricky, if you follow the steps word by word, you will have cool-looking braids in no time! Before we go over the details, let's deep dive into the basics of the braiding technique for extensions.
Understanding The Technique
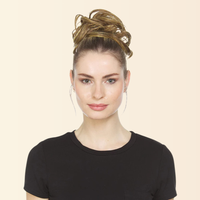
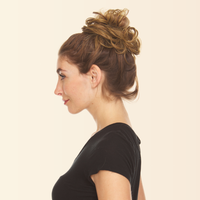
These extensions come under the umbrella of the weave. This method requires sewing the extensions or wefts into your hair. However, with braids in extensions, you simply have to use your fingers and blend in your hair extensions. As a result, you will achieve hair that appears breathtakingly beautiful.
Since you won't be using any heat or adhesives to attach these extensions, they will act as wigs. This means you will have to remove them at night and wear them again in the morning.

How to Do Braids With Extensions in 10 Easy Steps
Many people don't invest in hair extensions because they find the entire ordeal of going to the salon and sitting there for hours a strenuous task. If you know how hair extensions work, then it would be easy to add extensions at home. Here is a simple guide to follow guide to doing hair extensions by yourself.
By following these simple steps, you can easily braid your hair extensions at home, so let's get started.
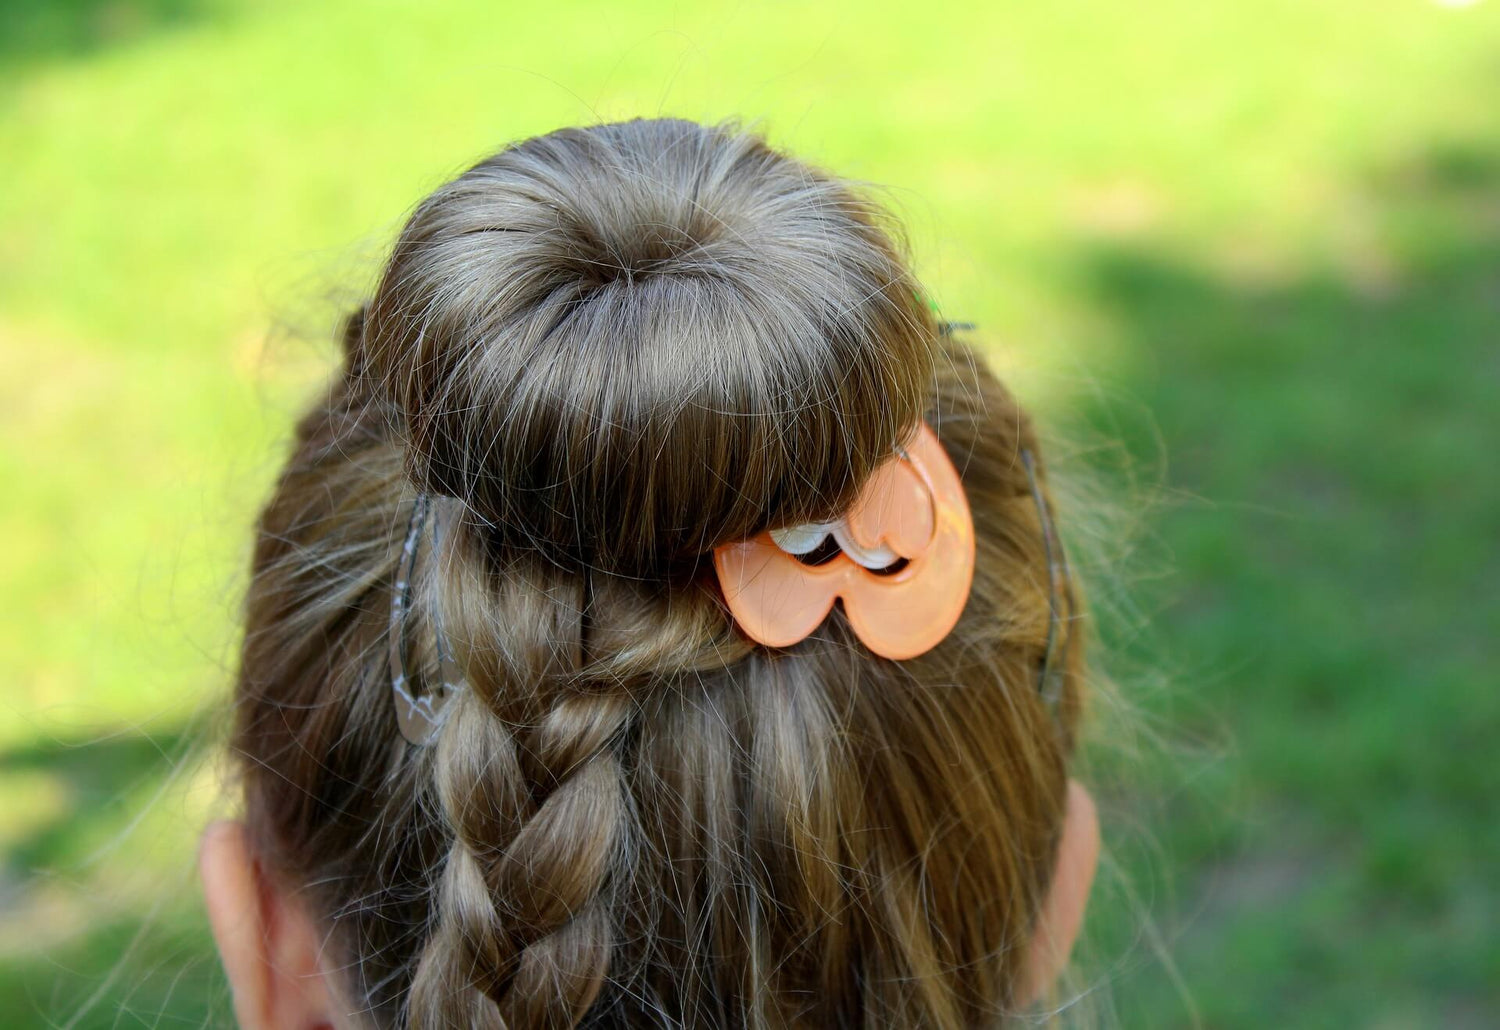
Step 1 - Section your hair
The first step is always the easiest, and if you are wondering how exactly to start going, we have the answer right here for you. After you have washed and dried your hair, it is time to place in the gorgeous extensions.
Using a wide-tooth comb, you need to carefully brush your hair to ensure there are no tangles in your mane. Now, using the same comb, you have to section your hair in half in the horizontal direction.
Next, clip the top section of the hair so that it doesn't keep mixing with the rest of your hair. Furthermore, you have to divide the loose section of your hair vertically into two equal sections.
Step 2 - Using a good quality hair wax
Depending upon the length of your hair and its quality, you will determine the amount of wax needed. Wax is an optional step, and you can choose not to apply it. However, curly or wavy hairs will have an easy time with this because styling people with curly hair have strands that can be easily waived in braids.
To complete this step, take a small amount of styling fax and, using your fingers, gently comb the wax through your hair. You should try to apply more wax to the roots than to other sections of your hair. This will not only speed up the rest of the process but will also allow for a smoother finish.
Step 3 - Tie your hair and secure them
Adding extensions to your hair is a delicate process, one that requires finesse and accuracy. This is why you need to ensure that none of the steps you take put any undue pressure on your roots. To avoid this in the beginning, you need to tie your hair.
Use a small elastic band, preferably of the same color as your hair, to tie the upper part of your hair. This will not only help release any tension in your hair but will also make the entire process more comfortable. Additionally, it will help keep the hair flat against your scalp.

Step 4 - Styling your extensions
Whether you have bought the extensions recently or you have had them for a long time, untangling and styling your extensions is key to all the steps ahead. To do this, you have to take a folded section of the extensions you are going to use. Next, you have to pull gently on the ends, thus separating the strands or wefts from one another.
Moreover, regardless of whether you have natural or synthetic extensions, achieving an equal length and width shouldn't be your goal. You should deliberately try to keep the extensions slightly uneven. This will help you achieve a more tapered effect, one that looks more natural and appealing.
Step 5 - Start braiding
This is where it gets slightly tricky, but you don't have to worry. We will explain all the steps in detail, so there is no room for confusion.
To braid your hair, all you have to do is fold the extensions over your hair tie and pull the strands apart one by one. You can either have all the strands lying on one side of the hair or keep them in the middle.
Additionally, you need to keep the extensions as close to your scalp as possible. This will not only help give a more natural look but will also aid the process.
Next, start a regular three-strand braid by weaving the hair with the extensions.
Step 6 - Plaiting from root to the tip
It is quite simple from here. Once you have started braiding the hair from the top, you have to continue doing it till you reach the end of your natural hair, this is where your natural hair runs out.
Next, you have to separate the remaining two sections of your extensions into three equal parts. Then, you have to simply weave the hair into a beautiful braid until you reach the bottom. But before you move on to the next step, make sure there are no split ends or hair coming out of the final braid. This will make your braid look messy.
Step 7 - Repeat the entire process
If you thought that you were done, think again. The hair that you tied above is still left. Once you are done with the hair at the bottom, it is time to move up the ladder. To do this, you have to move through section by section, carefully dividing the hair equally and continuing the process.
But before you get too excited and make mistakes, remember that the key to finesse is using the same length and size of extensions for all your hair. This is why you should ideally use wefts from the same extension to achieve a seamless and consistent braid.
Step 8 - Dipping the ends in hot water
This may come as a surprise to you, but dipping the ends of your hair into hot water can effectively seal the ends. So once you are finished, you can dip the ends of the braids into hot water to seal the tips. Next, use a dry towel to remove any excess water from your hair.
Additionally, you can also press a hot towel over your entire head to help enhance consistency. This will also flatten any flyaway hair, so each braid on your hair looks the same. Remember, accuracy comes from hard work, and there are only a couple of steps remaining.

Step 9 - Styling your edges
Now that your braids are sealed and looking gorgeous, you must want to rush to your friends and show them your handwork, but hold on for a few minutes more.
Once you are done, use sharp scissors to trim off the ends to achieve a more consistent look. But this is not a necessary step. Do it only if it seems vital. This brings us to one of the last steps of this process; styling your hairline.
To do this, place a small amount of hair gel into a spare and dry toothbrush. Next, use it to put any stray hairs in place. You can do this by applying this gel carefully on your hairline and ensuring no excess gel touches your scalp.
Step 10 - Set them and you are all done
We added this extra step to cheer you up and allow you some time to rejoice before you head over to your party or your grand event. See, we have told you braiding your hair is not a very difficult process. All it required was some patience and hard work, and the result was better than you expected.
Once you are done, look for any inconsistencies, hopefully, there won't be any. However, if you still find some stray hair, you can always apply a small amount of gel to even the edges.
Get Ready To Braid!
If you have followed through with the procedure, you’d know that it's easier than it sounds. There are just a handful of steps that you need to follow, and you’ll be done. But wait, there is a catch.
Regardless of how comfortable you are with the technique, you still don't know the right store to go to. But don’t worry. We promised you help, and we are going to stick with you to the very end. For hair extensions and all hair-related products, you can visit JuvaBun. It is one of its kind stores that offer diversity without compromising on quality. So rest assured, there is something for everyone there.

Leave a comment
This site is protected by hCaptcha and the hCaptcha Privacy Policy and Terms of Service apply.