
Table of Contents
Contrary to what people think, synthetic hair is actually dyeable. However, you can not use the normal dyes for coloring synthetic hair because unlike natural hair, synthetic hair lacks penetrability. Additionally, if you use the normal dyes, you will significantly damage the fiber of synthetic hair and may end up destroying them forever.
Many people are unaware of the dyeing process because synthetic hair is commonly available in a variety of colors and thus dying them is not a mainstream idea. However, it is an exciting prospect because you are able to use multiple dyes and create magical patterns of your liking.

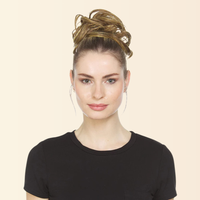
What Type of Synthetic Hair Should I Buy?
There are a couple of things you need to know before you make a final decision. The first and foremost thing is to buy a synthetic wig from a reputable store and one that guarantees a good warranty. This will ensure you don't end up with a cheap quality product.
As for color, you will have to ensure that your wig is the right color. For best results, you can go for light colored wigs that are easy to dye. These aren't only very suitable, but also don't interfere with the dyeing process. At the end of the day, they also ensure an accurate end result.
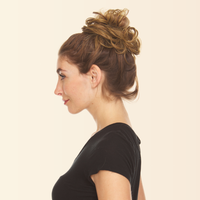
Things to know before purchasing
- It is also worth remembering that darker wigs can not be changed into a lighter color by simply bleaching, so you can not use lighter colors for dyeing them. For example, if you have a dark brown hair wig, you can dye it into a darker color like black, but you can not change into a lighter brown color.
- Another thing to remember is that dyes don't always result in predictable colors. If you have a red extension, and you dye it with a green color, you will end up with a brown color and not a green one. This is why it is important you use only white wigs or pastel wigs for dyeing.
- Another debate that you commonly hear is between a costly and cheap synthetic wig. Many people are risk aversive and will only invest in the cheapest wig for dyeing. This is because they fear their hard-earned money will be lost if the process gets ruined. However, that may not be the right approach.
- Additionally, go for a well-textured wig because these are the only ones who will be able to accommodate the true colors. Moreover, colors are less likely to wash off such wigs.
You should know that dyeing is a simple process and can result in a beautiful and gorgeous extension; one that you can wear for a long time. This is why you should try to be optimistic and invest in a good quality and high-end wig that, when colored, makes you look breathtaking and stunning.
Understanding The Dyeing Process: 3 Stages
There are numerous phases involved in the dying process, such as pre-dye activities, during the dyeing process activities, and after-care.

1. Pre - Dye Activities
We have already discussed a couple of prerequisites that you need to accommodate if you want good results. This includes buying an excellent quality wig that can be easily colored, but there are other things that you need to cater to. Here are a few things that come under this category.
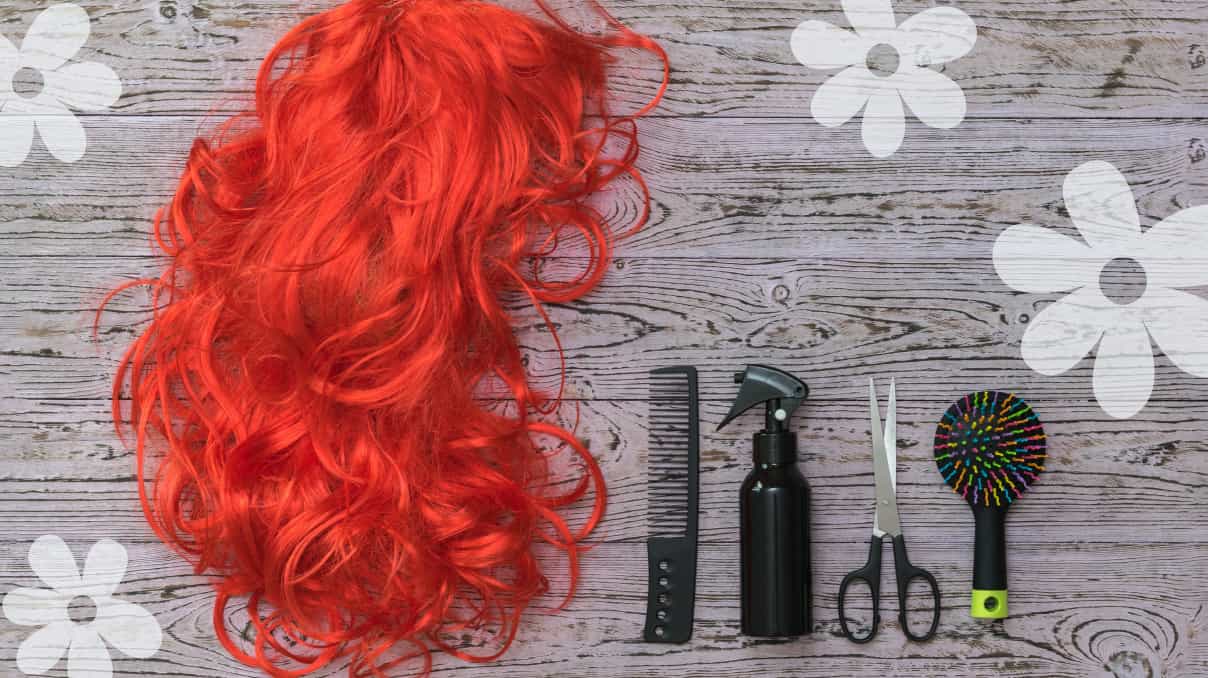
Preparing the wig
Regardless of whether you are using a brand-new wig or one that you have used a couple of times, it is significant that you wash it once before dying. Washing it will help clear off any sweat, dirt or styling products that may have accumulated on it over time. Moreover, you can also use a mild shampoo or even a hair conditioner to clean it thoroughly.
For this, you can fill up a clean sink with water, hold the extension in a bunch and dip it in the soapy water. Remember that extensions are not very durable, and you need to scrub them gently. You can increase the duration of the intensity but not the frequency of it. In the end, let your extensions dry completely. For better results, allow them to dry on their own and don't use any blow-dryer or fan.
Preparing the dye
This is the next most integral part of the process. For starters, you need to understand that there is no hard and fast rule to this. There are many ways to dye your hair extensions. The processes differ on a range of bases, and it is up to you to decide which process you want to use. Each of these methods offers good results, however, each of them also comes with its fair share of pros and cons. So it is important for you to understand the process before you jump on the bandwagon and choose a process that everyone else is using.
Here are a couple of dyes that you can use,
- Alcohol-based ink
This is one of the most popular dyes in the market and one that is most recommended by professionals. To prepare this dye, you need to first get a spray bottle and mix alcohol-based ink and water in it. Make sure you are taking equal amounts of both solutions and mix them in a 1 to 1 ratio. Once you have added the solutions, close the spray bottle and mix it well to achieve a good amount of dilution. You will notice that this dilution ratio will give you a neat opaque color which is going to be similar to your ink. However, if you want a slightly lighter color, you can also go for a relatively greater amount of water. This will help you achieve more dilution.
- Sharpie ink
This may just be the miracle solution you have been working for. It is not only a popular method but one that you can safely rely on. To achieve good results, you should start by opening up the sharpie marker and using the ink tube to color your synthetic hair. Try keeping it in the spray bottle and add water according to the dilution and color that you want. Moreover, try keeping the ink and watering a bottle overnight, so the former can easily drain into the latter.
- Acrylic color
This is another fascinating and effective dye that can help you look glamorous. You can prepare this dye by diluting ¼ acrylic color in roughly 3 tablespoons of rubbing alcohol. Next, you have to prepare a spray by the dilution method. You should shake the bottle well to mix the ingredients.
2. Application Process
The proper method!
We are only calling it a challenge because we want you to gear up and do this well. Otherwise, the process is pretty simple and doesn't take a lot of time. Here are some of the steps you need to follow. First, spray the dye that you have prepared on the extensions and try saturating it hair by hair and in layers to achieve a consistent and smooth texture.
Next, wear gloves on your hand and use your fingers and turn to part the hair for application. Make sure you are also wearing an apron so you don't ruin your clothes. Use a comb to spread the color evenly in the wig. Moreover, make sure that you have brushed your extensions nicely before starting the dyeing process. This will ensure that no breakage occurs during the application process.
Additionally, it is important that you work from the top to the underside of the wig. This will help you apply color to every part of the wig. More importantly, it will help you achieve a good depth in color. Once you have ensured that every strand is covered with color, it is important for you to let the wig dry on its own. Avoid using artificial ways to dry it because this can alter the final color.
Is there another quicker method?
Yes, there is! Although we don't recommend this quick method, we understand that some people need a colored dye quickly and can't go through the entire process mentioned above. If you want to use a quick method, you can simply keep the dye in a plastic bag, add your wig to it. This will ensure that the wig is evenly soaked in the color.
As for time duration, it will depend on the intensity of the color you want to achieve. Starting from 5 minutes, you can keep it for as long as you want, depending on the color that you have chosen. Lastly, once the wig is soaked, bring it out of the bag and let it dry completely before you use it.
3. Post Application Stage
Once you have let the wig dye, you can't just wear it. You have to give it a quick wash. This is to ensure that the wig is comfortable and ready to be worn on your day out. But there are a couple of things you need to remember about the washing process. It calls for caution and restraint. Here is how you can do it right.
After the wig has been dyed, wash it with cold water. You can not apply warm water because this will completely ruin your effort. It will completely wash off the color of the dye. Moreover, it is important to understand that washing your wig with cold water will also release some color. This is why you are always required to dye your wig a shade darker than you want.
If you feel that your wig has gotten very light after the first wash, you can re-dye it to achieve the perfect color. Moreover, you should try to wash your wig once every week if you wear it frequently. This is because failure to wash it will make the dye color of your wig bleed after raining or swimming. This will not only ruin your valuable dress but also your mood and maybe your reputation too. So it is always best to take precautionary measures.

Are You Ready To Dye Your Synthetic Hair Extensions?
Dyeing may be a non-complicated process, but only if you have the right type of extensions to work with. The problem arises when you are working with a cheap and low-quality product that does not offer a smooth texture. But you shouldn't get too disappointed and give up on the idea of dying altogether.
There is a simple solution to it. You can invest in a brand that everyone relies on; JuvaBun. It is not only a trendsetter in the market but also makes for an innovative and reliable company that makes the best quality extensions. You will find a great amount of diversity there. So the next time you want to buy extensions, there is only one store that you should consider.

Leave a comment
All comments are moderated before being published.
This site is protected by hCaptcha and the hCaptcha Privacy Policy and Terms of Service apply.