
Throughout history curls have remained a timeless and versatile hairstyle that has transcended cultures and eras. The origins of curls can be traced back, to civilizations each contributing to the development and evolution of this hair fashion.
Ancient Times
The art of curling hair can be dated back to times, where people employed techniques to achieve those sought after curly locks. In Egypt both men and women utilized rods made from metals or wood to create curls. They would wrap sections of hair around these rods. Apply heat to set the curls. Likewise the ancient Greeks and Romans also held a fondness for curls employing methods such as tongs or braiding to achieve their desired hairstyles.
18th and 19th Centuries
During the century in Europe curly hair became a fashionable trend. Women often adorned wigs. Experimented with various techniques like using hot curling irons or wrapping their hair around different objects in order to achieve their desired curl pattern. With advancements in hairstyling tools and products during the century such as curling papers and heated curling tongs individuals found it easier than before to create curls at home.
20th Century
The 20th century marked an era of innovations and trends in hairstyling. The emergence of the "flapper" look, in the 1920s introduced short hairstyles that gained considerable popularity.
The discovery of the wave also known as a "perm ”, in the 1930s completely transformed how people achieved hair. This process utilized chemicals to alter the structure of the hair resulting in curls that lasted for a time.
During the 1950s glamorous and voluminous curls gained popularity thanks to Hollywood icons like Marilyn Monroe. Their influence played a role in establishing hairstyles as iconic. Moving into the 1980s a wide range of styles emerged, ranging from coiled curls to large and voluminous hair. Achieving these looks often involved utilizing curling irons, diffusers and various styling products.
As we entered the century curls maintained their popularity with an emphasis on embracing textures and celebrating individuality. Many individuals now opt to enhance their curls than conforming to traditional ideals of straight hair. The availability of hair care products and tools has greatly simplified styling and upkeep for those with hair.
In years there has been a movement towards appreciating diverse hair types, textures and styles. Social media platforms and online communities have played a role in promoting inclusivity by showcasing a range of curl patterns and hairstyles.
From civilizations, to times the history of curls reflects ever evolving trends influenced by culture.Curls have come a way evolving from labor techniques, to more accessible and customizable options. Nowadays there is a celebration of textures and individuality. People over the world continue to embrace curls as a timeless and beloved hairstyle choice.
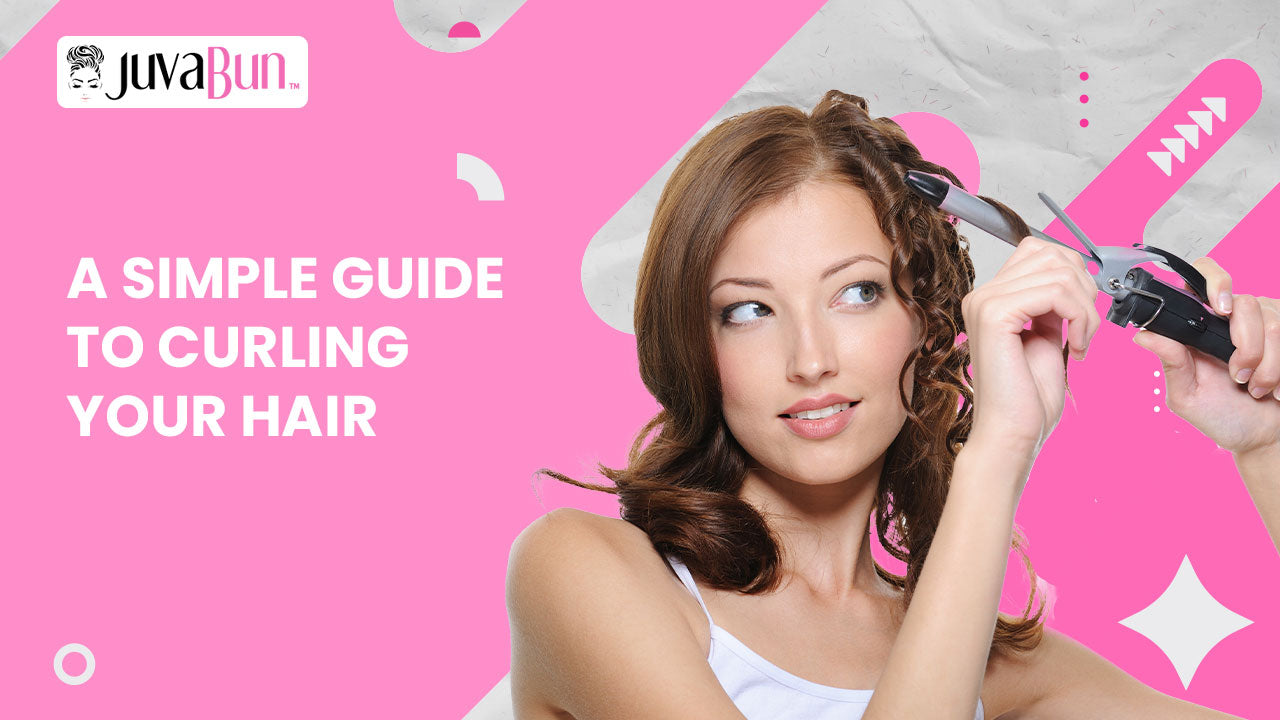
If you're looking to spice up your look with some curls whether it's for an occasion or to switch things up in your daily style don't worry if you're new, to curling! This blog post will guide you step by step through the process with easy to understand instructions. So grab your curling iron. Lets dive in!
Step 1; Gather Your Tools
Before you begin make sure you have everything you need;
Curling iron or wand
Heat protectant spray
Hairbrush or comb
Hair clips or elastics
Hairspray (optional)
Step 2; Prepare Your Hair
Start with hair. For results its recommended to curl your hair on the day after washing as the natural oils can help hold the curls better. Don't forget to apply a heat spray to shield your hair from any damage.
Step 3; Section Your Hair
Divide your hair into sections.Lets begin by separating the lower layers of your hair.
To keep the section out of the way use a clip or elastic to secure it.
Step 4; Creating Curls
Take a section of hair from the layer about 1 2 inches wide.
Hold the curling iron or wand in a position pointing downwards.
Wrap the hair around the barrel in a direction away, from your face. Start wrapping near the base of the section for looking curls.
Hold it for 10 15 seconds adjusting based on your hair type and the heat setting of your curling iron.
Gently release the curl. Allow it to cool in your hand for a seconds to set its shape.
Repeat this process for all sections of hair working your way up to the layer.
Step 5; Styling the Upper Layer
Unclip and release the section of hair.
Repeat the curling process. This time curl away, from your face to achieve a flattering look.
Once all sections are curled, use your fingers to loosen and separate them for a natural appearance.
Step 6; Final Touches
Make sure to let your curls cool completely before applying any finishing products.
If you'd like you can lightly mist your curls with hairspray to help them maintain their shape.
Step 7; Embrace Your Beautiful Curls!
Take a moment to appreciate your curled hair and confidently showcase your appearance, for any occasion. Keep in mind that practice makes perfect so don't fret if your first try isn't what you envisioned. With a practice you'll become a pro at curling in no time!
In conclusion
Curling your hair doesn't have to be complicated. By following these steps and allowing yourself some time you can achieve curls that will surely catch everyones attention wherever you go. Remember to take care of your hair by using heat products and minimizing exposure, to excessive heat. Enjoy exploring curling techniques and styles to discover the look that suits you best!
Leave a comment
All comments are moderated before being published.
This site is protected by hCaptcha and the hCaptcha Privacy Policy and Terms of Service apply.