


Table of Contents
The Dutch braid is a direct relative of the French. Only it is woven a little differently, inside out, thanks to which it acquires its famous luxurious look.
The secret is that additional plies in a standard three plies braid are not added from the bottom up. In this braid, weaving goes from top to bottom; this gives the hairdo a three-dimensional volume that looks good in all circumstances, even if the curls are naturally not too thick.
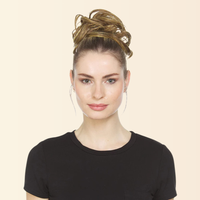
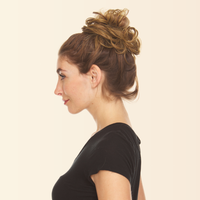
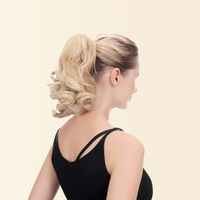
This braid can be wicker on any fine and dense, straight, or curly chevelure. But what if you want to dress up a gorgeous braid and volume is not enough? Make Dutch braids with extensions, and your chevelure will look gorgeous.
How to do a Dutch braid step by step?

Even if you still think that weaving a Dutch braid is not easy, now we will dissuade you from this. Everyone can easily cope with this hairdo, although it is more complicated than a ponytail or a regular braid. The main thing is to understand the basic principle of weaving, and everything will work out. Let's take a look at the weaving pattern of a classic Dutch braid.
- You will need to secure the extensions to give your Dutch braids a fuller look after you have carefully combed your chevelure. Then divide your chevelure into two halves right in the middle of your head from the forehead to the back of the head.
- While braiding one part, secure the other so that it does not get in the way under your hands.
- Divide your chevelure into three equal sections to create a braid. Bring the right ply under the center and then the left under the former right. Repeat these steps one more time. And now we do the same thing, but with the capture of plies of loose chevelure on the sides. That is, you take up the right ply again, attaching to it, as a whole, the additional one on the right (do not take much, the additional one should be much smaller than the main one), bring the resulting mix under the central one again. And do exactly the same with the ply on the left side.
- At this frequency, braid the braid to the base of the chevelure growth on the neck. And secure with a scrunchie.
- If desired, hide the scrunchie by wrapping a ply of chevelure over it. You can fix it either by simply passing the chevelure in a scrunchie or using invisible ones.
- Repeat the same for the second side so that you end up with two lush pigtails.

Additional tips for weaving Dutch braids with extensions:
- When doing weaving, do not make thin plies. This braid should be voluminous.
- You should not tighten the plies too tight so that the beauty of weaving does not hide from the eyes of others.
- Do not weave a braid and look too loosely for the middle ground so that the weaving lasts until the end of the day.
- If one or more plies do get out of style during the day, use styling wax applied to your fingertips to fix your hairdo; it will help the plies stay securely in place.
- If your haircut involves plies of different lengths (ladder, cascade), this can complicate weaving, stock up on invisible ones to gradually fix the braid in those places where there is a difference in length.

Who is the Dutch braid perfect for?
This hairdo will look great on any girl's chevelure. Besides, using extensions, you can make such a braid even if you have a short chevelure. You only need to position the braid depending on the face type correctly.
If you have an elongated or oval face, crown, basket, or diagonal braiding will suit you.
A round or square face should pick up the braiding in the head’s center, visually stretching the proportions.
Two Dutch braids harmonize a pointed face on the sides, but next to a wide chin, they will create the opposite effect, adding massiveness.
Read also:
How To Select The Right Type Of Hairbrushes

Leave a comment
This site is protected by hCaptcha and the hCaptcha Privacy Policy and Terms of Service apply.