
Table of Contents
- What Will You Need?
- 7 Steps for Adding Clip In Hair Extensions
- Step 1: Brush your hair
- Step 2: Begin with a three-clip weave
- Step 3: Cut a four-clip weft into tiny parts
- Step 4: Get a bigger four-clip weave and braid it
- Step 5: Take the remaining three clip strands
- Step 6: Consider two clip strands and tie them together
- Step 7: Separate the 1 clip weft from the rest of the wefts
- What Is The Best Way To Attach Hair Extensions into Shorter Hair?
- Are You Ready To Clip In Your Hair Extensions
- Read More:
So now you have actually gotten yourself a gorgeous pair of hair extensions, but you are stumped about ways to clip them in and integrate that in. You have arrived towards the correct spot since you're searching for something like complete instruction on where and how to clip in your hair extensions.
We've put together a detailed article that shows you how to clip in hair extensions in a series of steps. In case you are a beginner in wearing hair extensions, this guideline will be especially useful in figuring out where each weave should go as well as how to manage them to mix in together with the real hair.
Since few individuals can identify hair extensions, it is indeed usual for many girls and women to be apprehensive or hesitant about them. However, after reading this text, you would witness for yourself whether it is simple to convert your hair into beautiful, abundant locks in seconds while causing minimal stress. That sounds wonderful, isn't it? Let's get this party going. Now you can either check out the movie or follow the manual below!

What Will You Need?
- The following are the things you'll require:
- Clip-in hair extensions in their entirety
- Hair Extensions in Loops a gentle spatula whisk or a bristle
- Ultimate hair extensions
- faux hawk hairbrush or volumizing applicator set
- Mirror
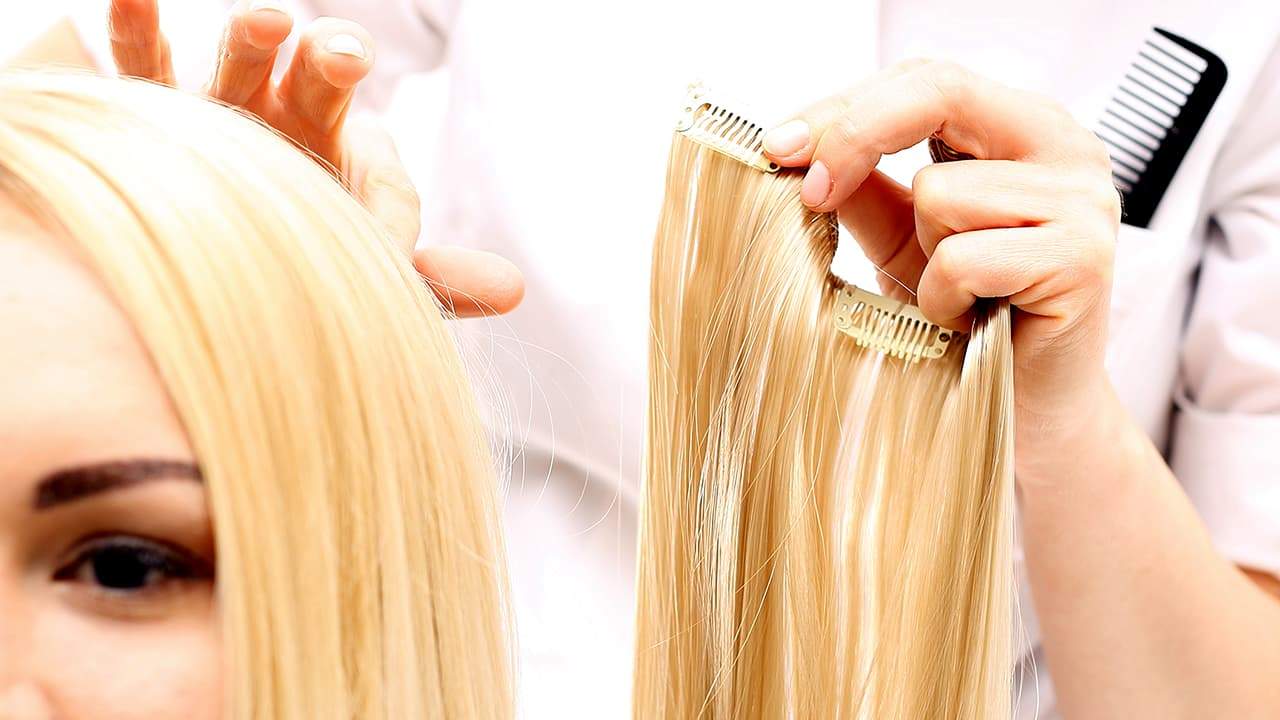
The durable and snug hooks are amongst the main characteristics of the segment in hair extensions. Each clasp contains a silicone gripping that keeps the weave firmly attached towards the hair and prevents it from slipping out. To view, try clicking, and to shut, simply press again.
There seems to be no permanence in having clip-in hair extensions, unlike other forms of hair extensions which are tied, attached, or fastened to the scalp. One may snap these in and out as needed, transitioning between short to long hair as often as you desire.
7 Steps for Adding Clip In Hair Extensions
If you are interested in this topic and want to know how to clip in hair extensions then keep following the article:

Step 1: Brush your hair
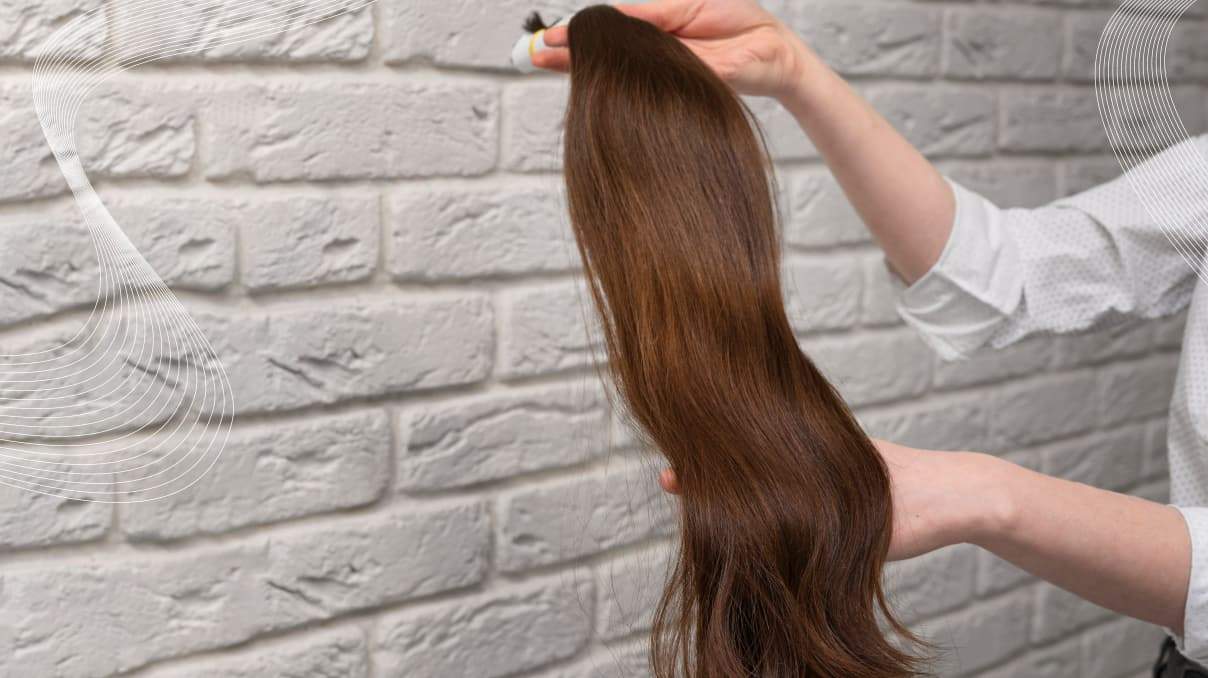
To remove any knots, begin with combing your own hair carefully with a gentle styling product brush or a hair circuit expansion brush.
Step 2: Begin with a three-clip weave
Somewhere at the base of the neck, split along a little portion of hair utilizing the fingers or by using a brush, and attach the remainder of your hair away by utilizing a hairband. Comb forth a three-clip weave prior to clipping it onto your hair. To eliminate any knots, start at the bottom and gradually build up the weave. To guarantee that the weft will fit exactly into the partitioned hair, evaluate that against your scalp.
Next, locate the crown of your scalp and click-through into the base of your hair in the middle—be careful to cut as near to the root as feasible. Lift a certain portion faraway from the forehead to generate additional grip, or merely tease this to build a somewhat more firm foundation, to find things simpler and avoid the clipping from slipping down too far. After you've snapped within the center clip, insert the left and afterward the right sides, pushing the weave taut. Every weave will be given the same treatment.
Step 3: Cut a four-clip weft into tiny parts
Split a uniform thinner segment of the length over inches just above the initially attached weave, then use a hair clip for fastening the remaining hair. Somewhere at the crown of the head, this part ought to be. Select the four-clip weft that is shorter by about seven. Comb it off the base required to expose any tangles, next evaluate the weave against the partitioned piece to ensure it fits comfortably on your hair.
Locate the base of your skull and connect the second and subsequent hooks into the roots of your hair first, followed by the outside clips. After clipping in the center clips, gently extend the weave to the sides to ensure that there were no imperfections in the weave.
Step 4: Get a bigger four-clip weave and braid it
Clip off the remaining hair on the sides and divide a single short strip of hair about a centimeter just above the initial clip in the weave. The broadest region of the head must be used for this region. Select that Four clips weave that would be the biggest.
So ensure it meets, cleans it off, and checks that against the skull. Put in the two middle clamps in the center of the partitioned hair, then clip inside the outside clip. When you're utilizing the twenty grams or one twenty grams or sixteen one hundred forty grams sets, cancel the order and move onto another phase, where you'll use the next Three clip weave.
Step 5: Take the remaining three clip strands
Clip your remainder of the good distance away with a clasp and divide a single short strip of hair approximately two inches underneath the crown area.
Make a second set of three clip wefts. Comb this out properly as normal and check this against your forehead to achieve the perfect fit. Attach the central clip through into the roots of your scalp first, accompanied by the side clips, inside the nape of the neck. Every one of the major webbing straps at the center of the head will now be snapped in, leaving just the little ones.
Step 6: Consider two clip strands and tie them together
Those would be the strands that go on our hair's edges. They'll give thickness to the edges and merge your hairstyle out front with the lengthier extensions smoothly.
Insert the remaining section of the hair away and separate a straight thin strip of hair approximately two inches just above the ear upon that side. Fasten the clipping nearest to the forehead first with a two-clip weave. Next, closer to the nape of the neck, fasten the second clip. Do the duplicate process on the opposite side.
Step 7: Separate the 1 clip weft from the rest of the wefts
Clip the rest of the hair away and separate a portion of hair just above the two clip wefts. Smooth out two one clip strands and snap those into a tiny section of the hair as near towards the origins as appropriate, below the two clipping weaves, or wherever you think further merging is required.
Reverse the procedure on the opposite part of the head. Comb your hair and inspect within the mirror to ensure that all the strands are concealed, particularly in the rear, adjust any required adjustments, and flaunt your custom-built beautiful hairstyle!
Utilize the hair extensions hair brush to detangle your hair while having hair extensions fastened in since the special synthetic looping filaments would not strain or drag at the foundation of the plain weave.
They slide so over roots rather, causing less harm to your hair and strands. Understand that, like everything else, clipping in and blending your clips quickly may take some practice, but when you get the swing of it, this will only require a few moments!

What Is The Best Way To Attach Hair Extensions into Shorter Hair?
Hair extensions are a great way to add volume, length, or both! If you have short or thin hair, the right set of extensions can create a more flattering look for your face shape. If you have short or thin hair, it's easy to feel insecure about your appearance. You may feel like a bad weave job will make you look even worse.
However, with the right amount of care and attention to detail, you can blend synthetic hair extensions into your natural hair seamlessly. The simplest way to easily blend hair extensions with short or thin hair is to tease your hair first. The second main thing is the placement of the clips.
Do not cluster most extensions at one section, or place them in random places. Strategically plan the places so you could enjoy extra volume and could easily hide the clips as well.
Are You Ready To Clip In Your Hair Extensions
Clip-in hair extensions come in a wide range of different lengths and colors, which makes them perfect for blending in with your own hair. They're also great for adding volume to thinning hair or making longer hairstyles more manageable.
Because they last so long and can be reused, clip-in hair extensions are an investment that will pay off over time. There are many benefits to wearing clip-in hair extensions. They are easy to use, affordable, and provide you with the freedom to change your hairstyle whenever you want.
If you're ready for a new look or just need some help boosting volume, then buy wigs online today at JuvaBun. So there you have it, a detailed guide on clip-in hair extensions. I hope that this guide has been helpful and given you a few pointers on what to look for when clipping weaves. Thanks for indulging in our content and reading all the way to the conclusion.
Read More:
Halo Hair Extension vs Extension With Barrettes: What Is Difference?

Leave a comment
This site is protected by hCaptcha and the hCaptcha Privacy Policy and Terms of Service apply.